

Store-bought upholstery cleaners promise miracles, but most fall short on real stains and overcharge for what amounts to mild detergent and fragrance. The DIY methods that actually work are surprisingly simple and use ingredients you probably already have — vinegar, baking soda, cornstarch, rubbing alcohol. The trick is matching each method to the right fabric and the right kind of stain. Here’s how to do that without ruining the piece.
Understanding Upholstery Fabrics
Every DIY method has to start with knowing what you’re working with. Natural fabrics like cotton and linen are comfortable but absorb spills fast — you have minutes, not hours, before a stain sets. They also tend to shrink or watermark with too much moisture.
Synthetic fabrics like polyester, microfiber, and olefin resist stains better because their non-porous fibers don’t absorb as quickly. Many come with a factory-applied protective coating that gives you longer to act. Blends combine traits of both, but the dominant fiber generally dictates how the fabric responds.
Always check the manufacturer’s tag for cleaning codes (W, S, WS, X) before reaching for any cleaner. The label tells you whether water-based, solvent-based, or no liquid cleaning is safe. Skip this step and even a gentle DIY mix can damage the wrong fabric.
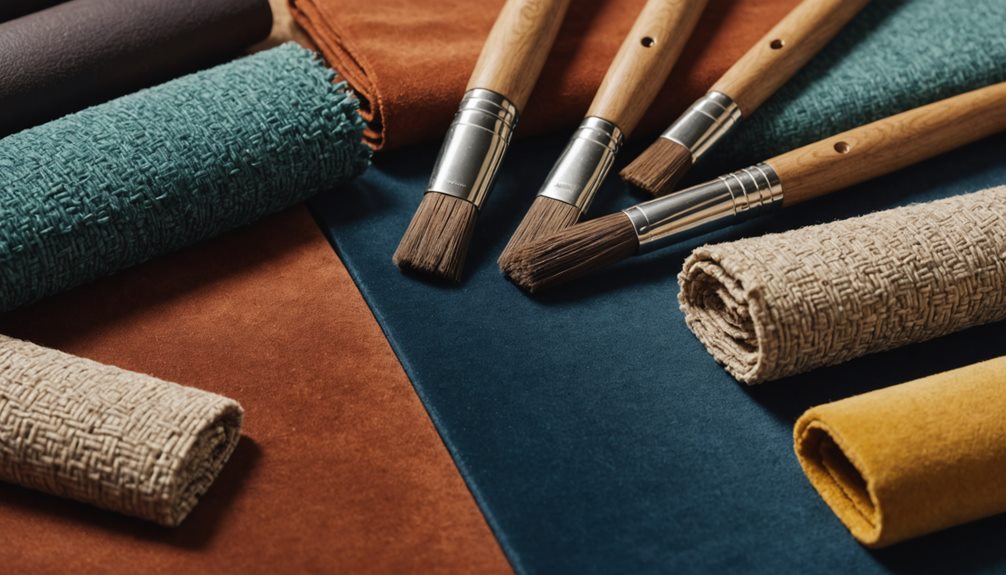
Essential Cleaning Supplies
You don’t need much for effective DIY upholstery cleaning, but the right basics matter:
- Vacuum cleaner with upholstery attachment: Pulls out dust and debris before any wet cleaning starts.
- Soft-bristled brush: For agitating dirt without snagging fibers.
- Fabric-specific cleaner: A product matched to your specific fabric type.
- Fabric protectors: Apply after cleaning to repel future spills.
Add a stack of clean white microfiber cloths (white only — colored cloths can transfer dye onto your upholstery), a spray bottle filled with distilled water (not tap water, which leaves mineral deposits), and a small mixing container. Total cost for the whole kit: well under $50.
Pre-Cleaning Preparation

Before you start cleaning, set yourself up. Move side tables, lamps, and anything else that limits access to the upholstery so you can reach all surfaces without leaning awkwardly. That sounds basic, but it’s the difference between cleaning a cushion thoroughly and missing a corner.
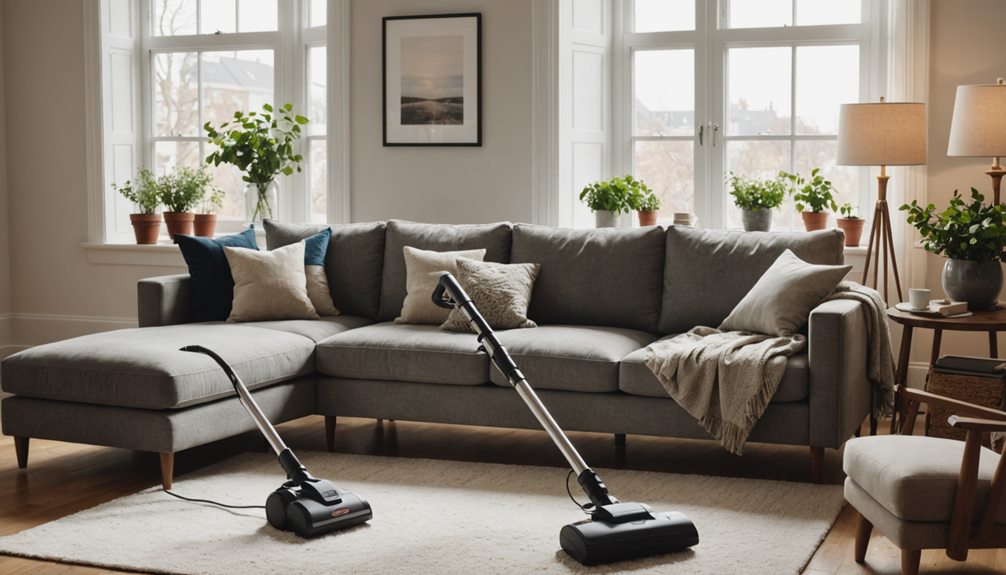
Inspect the piece for loose threads, small tears, or worn spots. Address them before cleaning — agitating fabric that’s already failing makes the damage worse fast. Remove any cushions to expose the hidden fabric underneath, where most of the actual debris collects. Vacuum thoroughly with the upholstery attachment before any wet cleaning. Skipping the vacuum and going straight to cleaner just turns surface dust into mud and pushes it deeper into the fibers.
Spot Cleaning Techniques
The right technique handles 80% of household upholstery stains. Identify the stain type first — oil-based, water-based, or protein-based (food, blood) — because each responds to different treatments. Act fast: fresh stains come out, set stains often don’t.
- Blot, don’t rub: Press a clean white cloth straight down onto the stain to lift the liquid up. Rubbing pushes it deeper.
- Test in an inconspicuous area: Always confirm a cleaner is safe on a hidden spot before using it on a visible one.
- Work from the outside in: Start at the edges of the stain and move toward the center. This stops the stain from spreading.
- Follow manufacturer guidelines: Care labels exist for a reason, and ignoring them can void furniture warranties.
For more detailed guidance on which cleaners pair with which fabrics, cleaning furniture and upholstery without damaging fabrics walks through the specifics.
Homemade Cleaning Solutions
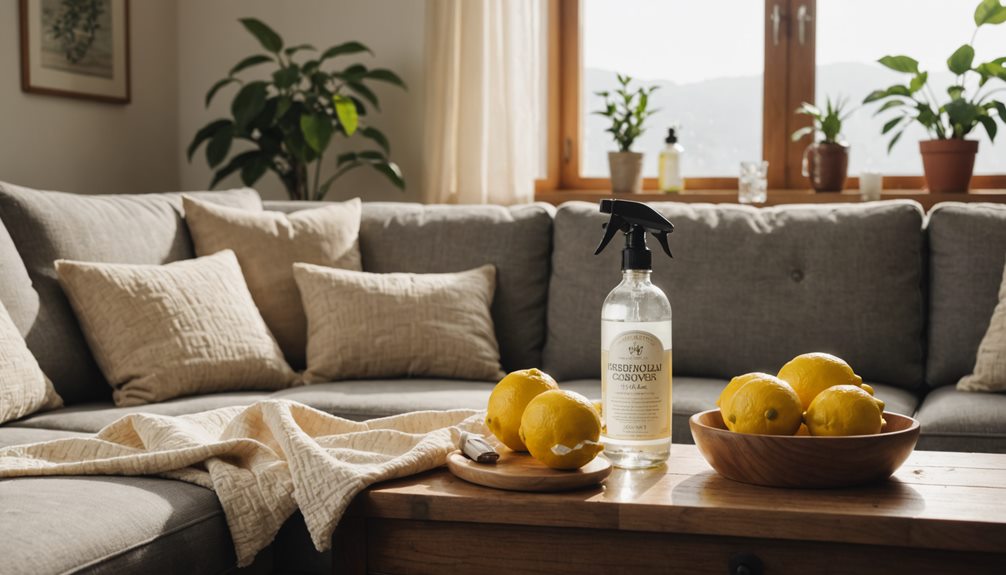
The pantry has the most effective DIY solutions for most upholstery stains. They cost a fraction of commercial cleaners and skip the harsh chemicals.
For most general stains, mix one part white vinegar with two parts water. Sprinkle baking soda lightly on the stain first, then mist the vinegar solution over it. The combination lifts dirt while neutralizing odors at the same time. For oil-based stains, make a paste of cornstarch and water and apply it to the stain, leaving it 15 minutes before vacuuming up — the cornstarch absorbs the oil. For ink, dab the area with a cloth dampened with rubbing alcohol and blot until the ink transfers to the cloth.
Always test these mixes on a hidden area first — natural doesn’t mean automatically safe for every fabric. And don’t saturate; even gentle solutions can cause watermarks if you use too much.
Removing Pet Hair Effectively
Pet hair on upholstery is its own challenge. Vacuuming alone often doesn’t cut it because the fibers cling. Reduce shedding at the source first — regular grooming with a slicker brush or grooming glove pulls out loose fur before it ever lands on your sofa.
- Regular grooming sessions: Brush pets several times a week to capture loose fur before it spreads.
- Furniture-safe vacuum attachments: Upholstery-specific attachments lift hair embedded in fabric better than general attachments.
- Rubber gloves technique: Dampen a pair of rubber dish gloves and run your hands across the upholstery. Hair clings to the gloves and pulls right off.
- Lint rollers: Useful for quick touch-ups between deeper cleanings.
The dampened-rubber-glove technique is genuinely the best-kept secret in pet hair removal — cheaper and more effective than any specialty pet hair tool sold in stores.
Odor Elimination Tips
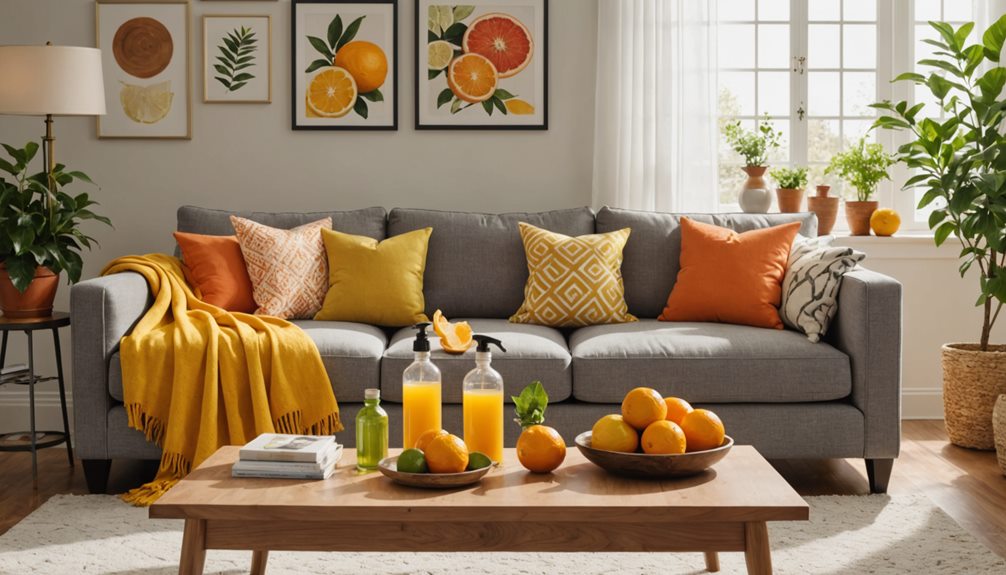
Odors that have settled into upholstery come out in a specific sequence. Sprinkle baking soda generously across the affected area and let it sit at least 15 minutes (longer for stronger smells). For deeper penetration, work the baking soda gently into the fabric with a soft brush, then vacuum thoroughly to lift the powder and the trapped odors with it.
For stubborn odors, mix equal parts white vinegar and water in a spray bottle and mist the upholstery lightly — not soaking. The acetic acid in vinegar neutralizes a lot of common odor compounds. Add a few drops of essential oil to the spray bottle for a pleasant scent. Run a fan or open windows so the upholstery dries quickly — wet upholstery is mold-prone, and that becomes its own odor problem. For organic odors that resist these methods, an enzymatic cleaner specifically formulated for fabrics breaks down the molecules at a chemical level rather than masking them.
Deep Cleaning Methods
For deeper-than-spot cleaning, steam (hot water extraction) is the gold standard for compatible fabrics. The high heat dissolves embedded dirt and kills bacteria without harsh chemicals. Test on a small hidden area first — some fabrics can’t handle the heat or moisture.
Microfiber needs special handling. The fibers trap moisture, so use a soft brush to lift dirt and a damp microfiber cloth to blot rather than saturate. Don’t over-wet, and don’t use brushes stiffer than soft-bristle — aggressive scrubbing damages microfiber’s texture.
- Enhanced air quality: Removing embedded allergens improves the air around the furniture.
- Revitalized appearance: Restores color and texture that surface cleaning misses.
- Extended lifespan: Removing grit before it cuts fibers extends how long the upholstery lasts.
- Fewer follow-up cleanings: Deep cleaning every six months prevents the buildup that requires constant attention.
Maintenance and Care Tips
The work doesn’t end after a deep clean. Apply a quality fabric protector after each cleaning to create an invisible barrier against future spills — reapply every six months for it to stay effective.
Vacuum weekly with the upholstery attachment to remove dust and debris before they grind into fibers. Pay attention to seams and crevices where most of the actual debris hides. Rotate cushions weekly — even a quick rotation extends the life of the seat people sit on most. Address spills the moment they happen with a clean cloth and gentle blotting; most stains come out easily when treated within minutes but become permanent if left for hours.
The mistakes that ruin DIY cleaning are predictable and avoidable — common upholstery cleaning mistakes that ruin your furniture covers what to skip.
Conclusion
DIY upholstery cleaning works for most household situations — routine maintenance, fresh stains, light deep cleaning, and odor control all respond to simple methods using inexpensive ingredients. Identify your fabric, vacuum first, blot don’t rub, use minimal moisture, and finish with a fabric protector. That covers about 90% of upholstery situations.
For the other 10% — set-in stains, antique or delicate fabrics, deeply embedded pet odors, or pieces you genuinely can’t risk — professional service is worth the cost. At Hydra Clean of Hattiesburg, MS, we use commercial-grade equipment and methods no DIY product can match. Visit our furniture and upholstery cleaning service page to see what we offer, or call (601) 336-2411 for a free quote.