

Most losses stall because you don’t start with category/class and safety controls before touching a pump. You’ll isolate power, stop the source, and document conditions, then map moisture with meters and thermal imaging. Next comes high‑volume extraction—pumps, weighted wands—followed by selective demo based on contamination. You’ll apply EPA‑registered antimicrobials, stage air movers, size LGR or desiccant dehumidifiers, and confirm with psychrometrics and target EMC. But the real difference maker happens sooner than you think…
Immediate Safety and Source Control

Before you do anything else, kill the power to affected circuits at the breaker to eliminate shock hazards, then verify de-energization with a non-contact voltage tester. Control electrical hazards before entry. Don PPE: nitrile gloves, boots, eye protection, and a respirator if aerosolization is possible. Stop the water source: close the main, isolate fixtures, or cap failed lines. For appliances, unplug only after confirming no live voltage. If natural gas is present, execute gas shutoffs at the meter; ventilate and prohibit ignition sources. Establish exclusion zones, post signage, and stabilize footing. Document conditions, photograph sources, and note valve positions for chain-of-custody.
Professional Assessment and Water Category Classification
Engage a certified restoration firm to perform an IICRC-compliant site assessment, establishing scope, hazards, and moisture migration pathways. You’ll receive a documented incident timeline, source verification, and initial contamination profile. Technicians classify water by IICRC S500: Category 1 (clean), Category 2 (gray), or Category 3 (black), based on source integrity, contact time, and affected materials. They also determine exposure risks, required PPE, and containment protocols. Accurate categorization guides removal methods, antimicrobial application, and waste disposal. Record findings for Insurance considerations and Legal implications, ensuring chain-of-custody for samples and photos. Align the work plan with health codes, OSHA requirements, and client priorities.
Moisture Mapping and Structural Inspection
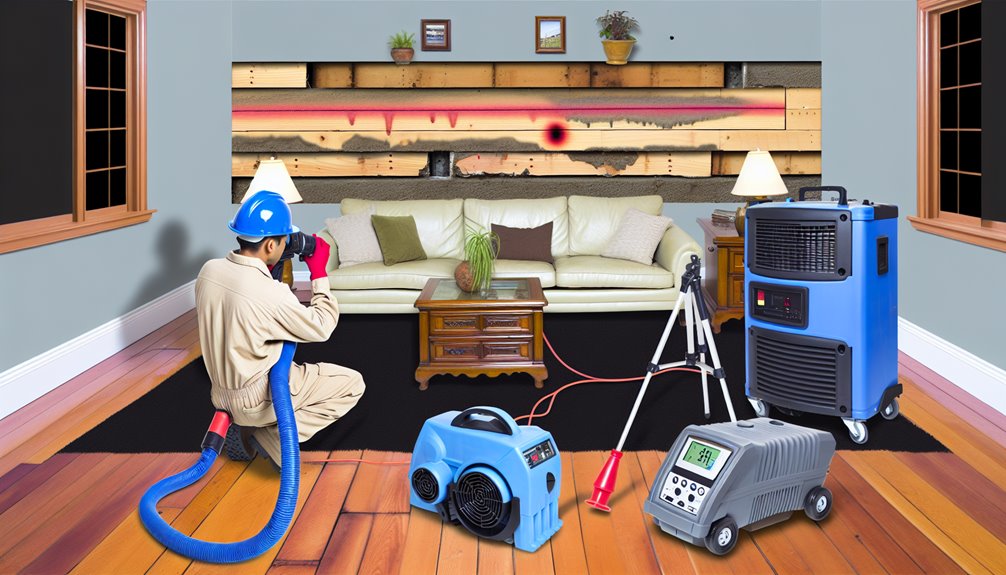
With the water category and hazards defined, move directly into moisture mapping to quantify the wet footprint and identify hidden saturation. Deploy thermal imaging to visualize temperature differentials that flag moisture migration behind finishes. Validate with pin and pinless meters, documenting readings by material class and baseline. Factor building porosity—drywall, plaster, masonry, and engineered wood behave differently—when setting target moisture content. Probe sill plates, bottom plates, and subfloors; inspect vapor barriers and insulation for wicking. Trace capillary paths from source to termination points. Mark affected boundaries, note delamination, swelling, or corrosion, and record structural integrity. Create a defensible map guiding mitigation.
Rapid Water Extraction Techniques
Prioritize rapid extraction to collapse the drying timeline and prevent secondary damage. Deploy rapid pumps sized to the water category and volume; verify amperage, head pressure, and discharge routing before startup. Use weighted extraction wands on carpet, glides on hard surfaces, and auto‑pump-in/pump‑out truckmounts for continuous flow. Execute systematic passes: north–south, then east–west, until return flow is minimal. Integrate thermal imaging to locate hidden pooling beneath plates and within cavities, then open access points for targeted extraction. Monitor real-time GPP trends at the exhaust to confirm removal efficiency. Document gallon counts, run times, and affected zones to guide subsequent drying.
Removal of Unsalvageable Materials and Content Protection
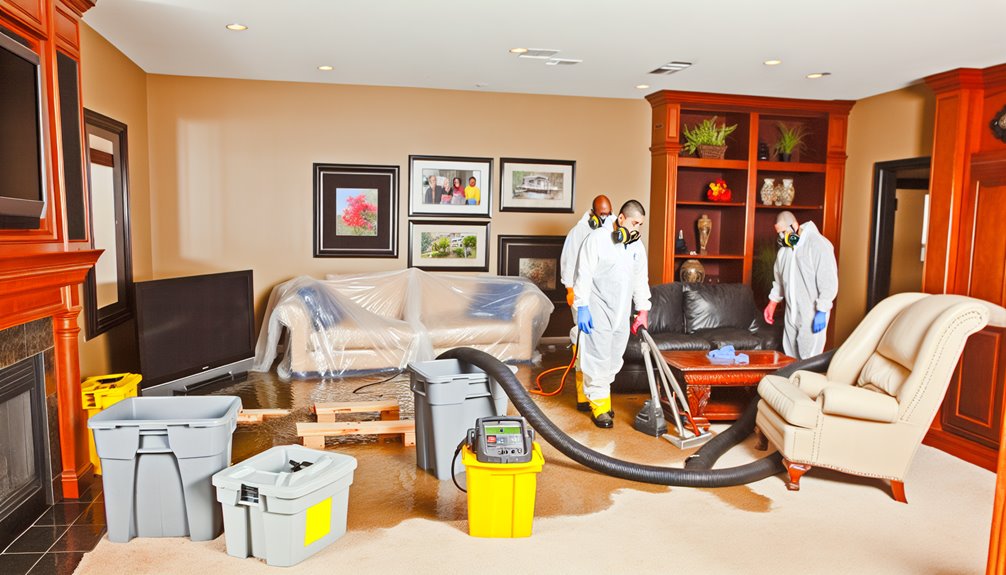
Once standing water is controlled, triage building materials and contents using S500/ANSI categories, exposure time, and porousness to determine salvageability. Remove Category 3-impacted drywall, insulation, carpet pad, and swollen MDF under containment. Bag, label, and stage debris for compliant disposal. Stabilize salvageable personal belongings with dry, clean, climate-controlled storage and prioritize document digitization to preserve information and chain of custody. Protect unaffected zones with poly sheeting, negative air, and tacky mats to prevent cross-contamination.
- Photograph, inventory, and bar-code removed items for adjuster review.
- Set nailback lines and cut 12–24 inches beyond visible wicking.
- Deploy HEPA air scrubbers during demo and transport.
Targeted Cleaning and Antimicrobial Application
Start by zeroing in on affected assemblies and high-touch pathways, then execute a clean-to-dirty workflow per IICRC S500. Pre-vac loose soils with HEPA filtration, then apply detergent agitation for soil suspension. Target seams, fasteners, and penetration points where microbes harbor. Validate chemistry compatibility; use EPA-registered surface sanitizers at label dwell times. For biofilm disruption, deploy mechanical agitation, surfactant boosters, or oxidizers as permitted.
Rinse-extract residues to reduce bioload, then perform secondary disinfection. Detail-clean porous-adjacent interfaces, switching tools to prevent cross-contamination. Meter and document ATP or equivalent indicators to verify efficacy. Communicate findings, adjust scope, and stage treated zones for safe re-entry and continued restoration.
Strategic Drying With Air Movers and Dehumidifiers

With surfaces sanitized and residues extracted, you set the stage for controlled psychrometrics and moisture evacuation. Deploy low-profile air movers to create a laminar boundary layer sweep across wet materials, driving evaporation without aerosolization. Pair LGR or desiccant dehumidifiers to capture the vapor load, maintaining humidity balancing and preventing secondary damage. Orient devices for airflow optimization: cross-flow patterns accelerate surface drying while avoiding dead zones and short-circuiting.
- Calculate ACH and pints/day to match permeance and load.
- Float carpet with directed velocity; protect edges with containment.
- Use tenting on dense assemblies to focus grain depression and reduce run time.
Verification, Monitoring, and Final Moisture Readings
Although drying equipment is running, you must verify progress through quantified monitoring and documented endpoints. Establish drying goals from unaffected reference materials, then perform daily psychrometric checks: ambient temperature, RH, GPP, and surface moisture content. Confirm instrument calibration before each shift to guarantee defensible readings. Use pin and pinless meters on structural materials, and an infrared camera to identify anomalies. Implement data logging for trend analysis; capture equipment settings, vapor pressure differentials, and dehumidifier pints-per-day. Adjust air mover placement and dehu capacity when curves plateau. Conclude with final moisture readings at target EMC, validated against baseline, and obtain client sign-off.
Conclusion
At Hydra Clean in Hattiesburg, MS, we understand how overwhelming water damage can be, but you don’t have to face it alone. We’re here to guide you through every step of the restoration process, ensuring your home or business is safe and dry. If you want to learn more about our services or have any questions, I invite you to visit myhydraclean.com or give us a call at (601) 336-2411. We’re ready to help you get back on your feet and restore peace of mind. Let’s tackle this together!