
When your floors start looking “well-traveled,” it’s often not dirt—it’s embedded soils, mineral accretion, and biofilm locked into porous grout. You can’t out-scrub chemistry, pH balance, or dwell time. Pros use calibrated agitation, controlled heat/steam, and rinse-extraction to lift contaminants without etching tile or softening grout. Then they reprofile joints and apply penetrating sealers after verified dry-down. If you want restored appearance, longer sealer life, and fewer callbacks, here’s what a true restoration workflow entails…
Signs Your Tile and Grout Need Professional Attention
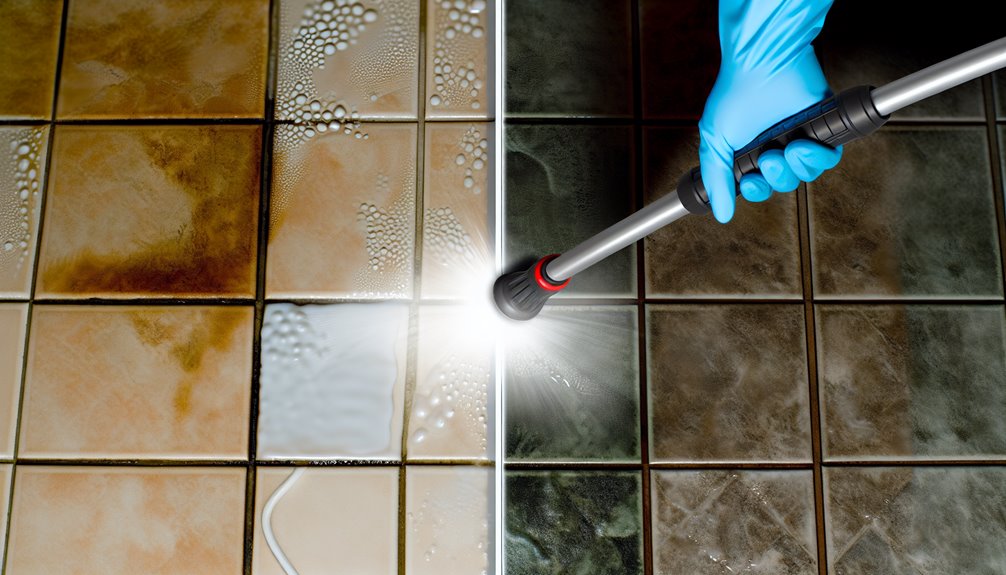
Although routine cleaning can handle light soil loads, certain indicators signal you need pro-grade remediation: persistent discoloration that returns after alkaline or oxygenated cleaners, darkened or hollow-sounding grout lines suggesting substrate moisture intrusion, efflorescence or mineral bloom that reappears post-rinse, etching or micro-pitting on glazed or natural stone tiles, cracked or missing grout causing capillary wicking, mildew odors despite ventilation (pointing to biofilm), and sealed surfaces that no longer bead water, indicating seal failure.
You also notice grout discoloration that migrates along joints, pointing to vapor drive. Prioritize mold detection with moisture mapping and IR thermography. Schedule extraction, pH-neutralization, regrouting, and breathable sealing to protect occupants.
Why Professional Cleaning Beats DIY Methods
Those red flags aren’t just cosmetic—they indicate conditions DIY methods won’t correct at the substrate or chemical level. You can scrub, but you won’t neutralize embedded biofilm, dissolve mineral accretion, or rebalance grout porosity. Pros diagnose tile type, grout composition, and contamination load, then select pH-specific chemistries, dwell times, and agitation profiles.
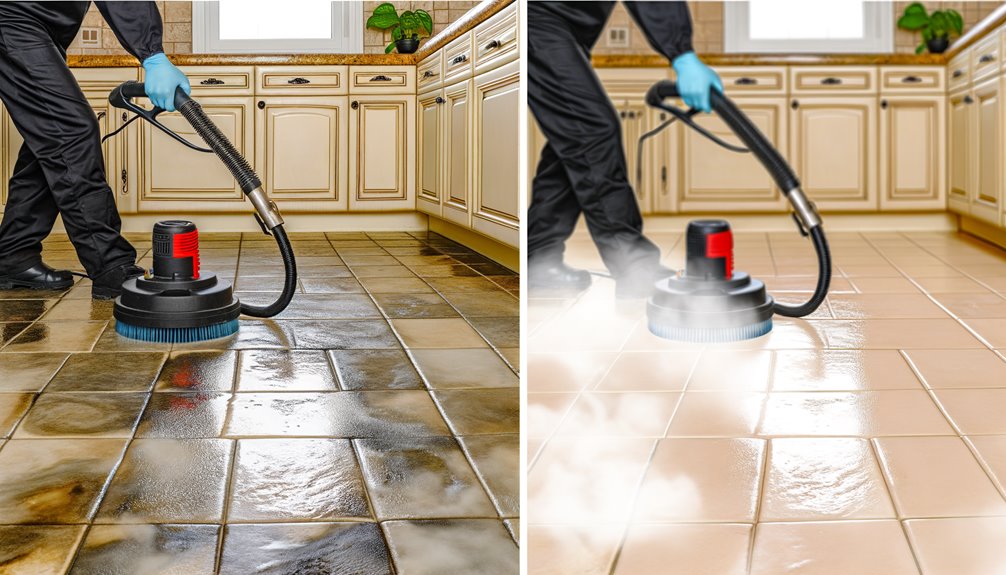
We mitigate wicking, prevent efflorescence bloom, and stop sealer incompatibility. Controlled steam cleaning dislodges impacted soils without etching glaze or softening additives. Precision rinse and slurry recovery protect joints. Finally, targeted color restoration corrects uneven dye loss and stains, creating uniformity and serviceability. You get durable, sanitary, client-ready floors.
The Equipment Pros Use for Deep Cleaning

Start with the right arsenal: high-PSI oscillating scrubbers with weighted decks for uniform downforce, rotary machines with diamond-impregnated pads for micro-abrasive slurry generation, and variable-heat vapor systems delivering controlled steam for biofilm disruption without softening glazes. You’ll pair industrial scrubbers with splash-ring extraction heads to evacuate slurry at the point of contact, preventing redeposit. Precision grout brushes ride the joint profile, dislodging embedded soils before recovery wands capture fines. Use steam tools with adjustable pressure and thermostatic control to sanitize seams and corners. HEPA wet vacs finalize capture, leaving pores open for sealing. Calibrate RPM, PSI, and temperature to substrate tolerance.
Safe, Effective Cleaning Solutions for Different Tile Types
While equipment sets the pace, chemistry dictates outcomes: match pH, solvent system, and chelation package to the substrate and soil load to clean without etching, swelling, or haze. You’ll deploy pH neutral cleaners on polished marble, limestone, and travertine; pair with stone safe solvents for oils. For ceramic and porcelain, use alkaline emulsifiers with sequestrants to release polymerized soils, then rinse to neutral. For textured porcelain, add surfactant-rich boosters to penetrate microtopography. On quarry tile and unglazed terra-cotta, avoid acids; opt for buffered alkalines and controlled dwell. For glass and metal inlays, use non-abrasive, film-free detergents that leave zero residue.
Step-by-Step Process of Professional Grout Restoration
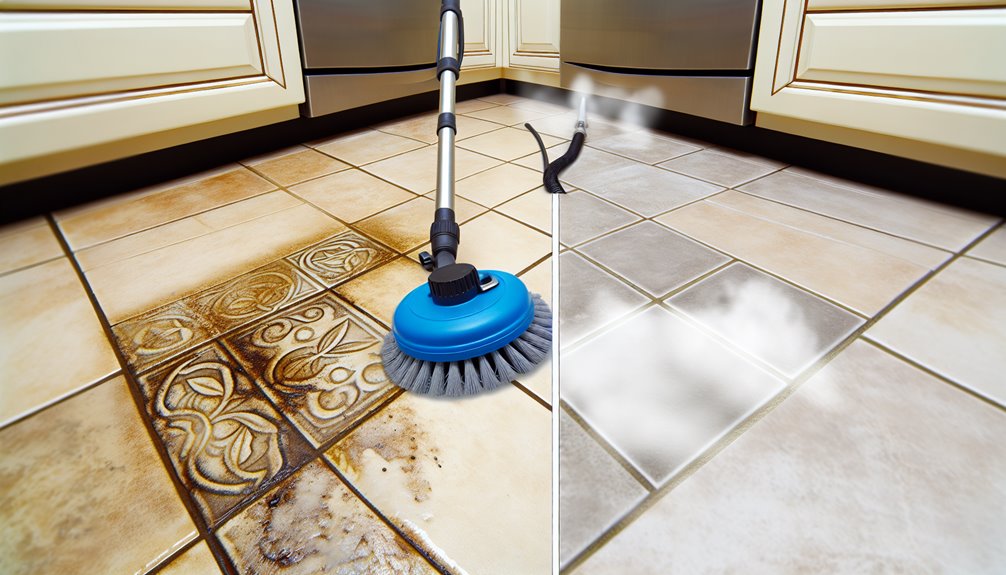
With chemistry dialed in for the tile, you can execute a controlled grout restoration workflow that manages soil load, porosity, and cure windows. Start by dry soil removal, then perform grout profiling with rotary brushes to open joints and assess binder integrity. Rinse-extract with calibrated pressure to prevent voiding. Address micro-cracks, pack repairs, and verify color matching for uniform visuals.
- Inspect, tape edges, and map zones; set dwell times by porosity.
- Agitate, hot-water extract, neutralize pH, and force-dry to EMC.
- Apply penetrating sealer, burnish, and document gloss/ΔE.
Your process delivers consistent outcomes, safeguards substrates, and serves client needs.
Stain Removal Techniques for Tough Spots and Discoloration
Before you attack discoloration, calibrate your approach to the stain class, tile body, and grout matrix. Identify organic, oil-based, rust, or tannin loads. For organics, deploy enzymatic cleaners with adequate dwell to digest residues without etching glaze. For oils, use alkaline degreasers, heat, and agitation; rinse to neutral. Address rust or mineral transfer with targeted acid-safe chelants on compatible substrates. Execute poultice applications for deep-set stains: blend absorbent media with the appropriate solvent or oxidizer, apply, occlude, and allow capillary draw. Spot-test every chemistry, monitor pH swing, and control moisture. Finish with thorough extraction to prevent wicking and re-soil.
The Role of Grout Sealing and Why It Matters

Lock in your cleaning gains by sealing the grout, because unsealed cementitious joints act like capillaries, wicking liquids, oils, and colorants deep into the matrix. You stabilize the substrate, protect grout bonding, and establish a durable moisture barrier that resists rapid re-soiling and chemical intrusion. Specify a penetrating, vapor-permeable sealer for sanded or unsanded grout; apply to full saturation, then buff off excess to prevent film.
1) Verify cure time: grout 72 hours; sealer per manufacturer.
2) Conduct a water-drop test to confirm repellency and reapply if needed.
3) Schedule maintenance re-seals (12–24 months) based on traffic and cleaning chemistry.
Benefits for Health, Hygiene, and Indoor Air Quality
Sealed, properly restored tile assemblies don’t just look clean—they interrupt microbial harborage and reduce bioload. You lower pathogen reservoirs by extracting embedded soils, biofilm, and moisture, then reinstating hydrophobic sealants that block capillary wicking. This improves IAQ by minimizing aerosolized particulates, VOC entrapment, and spore release. Targeted Mold prevention protocols—alkaline pre-treat, dwell, controlled rinse, rapid dry—disrupt growth cycles without residue. HEPA capture and neutral pH post-rinse support Allergy reduction by removing allergen loads and irritants. You protect vulnerable occupants, reduce cross-contamination risk, and maintain hygienic slip-resistant surfaces. The outcome: cleaner breathing zones, lower microbial counts, and service-ready environments.
How Often to Schedule Professional Tile and Grout Cleaning

Typically, you’ll schedule professional tile and grout cleaning every 6–12 months, then tighten or extend intervals based on traffic load, soil profile, and substrate/finish system. Use Seasonal scheduling to align with peak use and downtime, and apply Usage based timing to match occupancy density, spill risk, and soil ingress. Calibrate cadence with measurable indicators: gloss readings, slip coefficient, and grout porosity.
- Residential: low traffic, 12 months; kids/pets, 6–9 months.
- Commercial: lobbies/restrooms 3–6 months; back-of-house, quarterly.
- Healthcare/foodservice: 1–3 months with documented QA.
Adjust frequency after restorative cleans, sealer wear assessments, and post-construction particulate loads.
Maintenance Tips to Keep Floors Looking New Longer
Routinely implement a preventive maintenance loop that controls soil load before it bonds to tile and penetrates grout. Deploy daily dry sweeping using microfiber dust mops, then wet mop with a neutral pH detergent; avoid surfactants that leave residue. Schedule routine inspections to detect sealer failure, grout abrasion, and impact damage. Spot-treat stains immediately with manufacturer-approved alkaline or enzymatic agents. Establish footwear guidelines: install walk-off mats, mandate soft-soled, non-marking shoes, and use floor-protective caps on equipment. Maintain correct dilution ratios, change solution buckets frequently, and use color-coded tools to prevent cross-contamination. Reapply penetrating sealer per traffic class and environmental load.
Conclusion
At Hydra Clean, we believe that every floor has the potential to shine like new again! I invite you to experience the difference that professional tile and grout restoration can make in your home or business. Our team is dedicated to bringing your floors back to life with care and precision. If you’re ready to transform your space, please visit us at myhydraclean.com or give us a call at (601) 336-2411. I look forward to helping you achieve the clean, beautiful floors you deserve!