
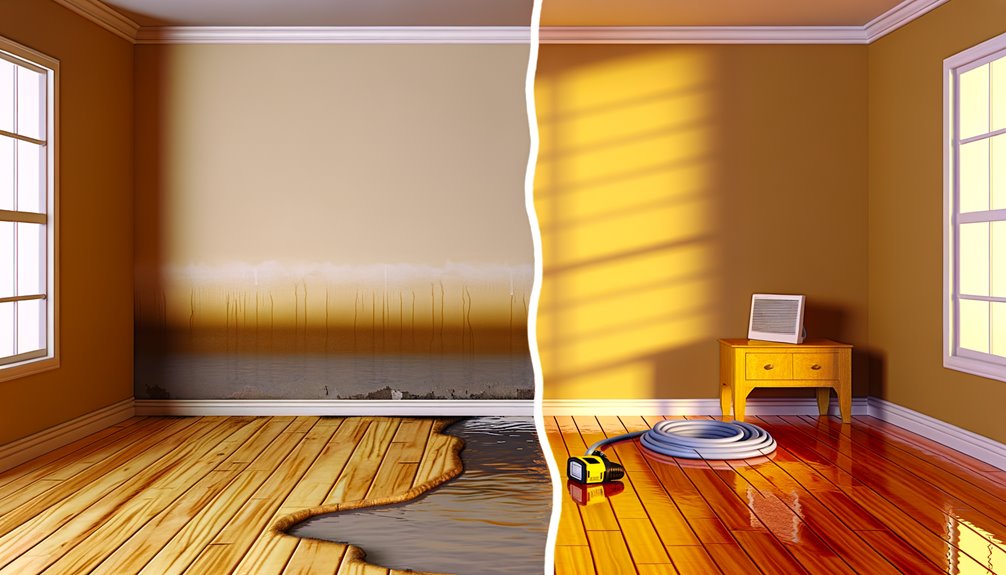
After you dry a flooded space, moisture still moves through cracks, wicking paths, and vapor drive. Without waterproofing, you risk mold rebound, insulation loss, and hidden rot. You need to seal capillaries, control humidity, and redirect bulk water with membranes, drains, and crack injections tied to dehumidification targets. Match solutions to sources—surface runoff, groundwater, or plumbing. Time work with restoration milestones to avoid traps and rework. Here’s how to choose what actually keeps it dry.
Why Drying Alone Isn’t Enough After Water Damage
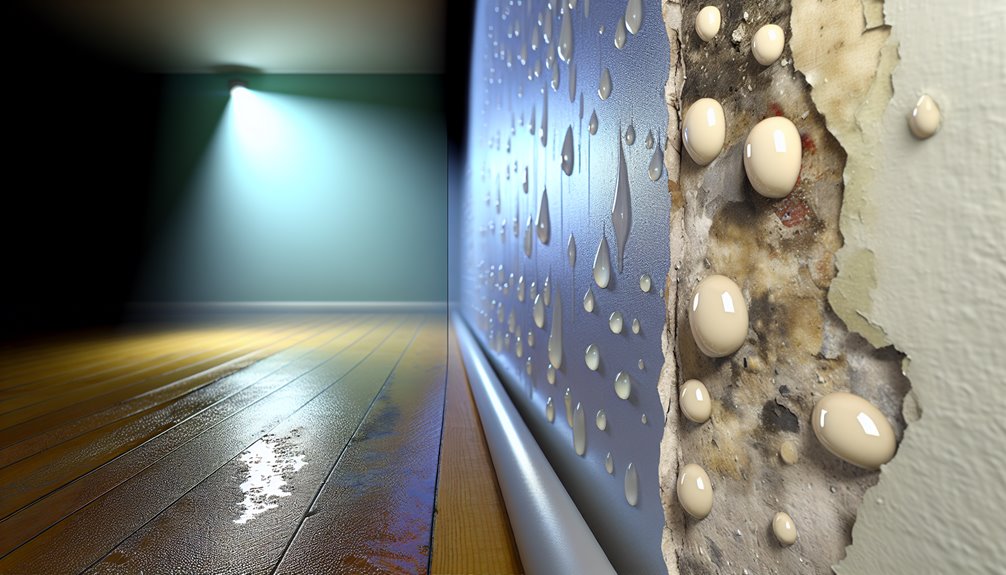
Even if surfaces look dry, moisture persists inside porous materials and hidden cavities, where it drives mold growth, corrosion, rot, and bond failure. You can’t rely on evaporation or air movers alone. Capillary action wicks water deeper; hygroscopic materials reabsorb vapor. Without verification, you risk mold regrowth within 24–48 hours. Use moisture meters, thermal imaging, and destructive probing to confirm core dryness. Establish humidity control with dehumidifiers sized by grain depression and air changes. Create negative pressure to prevent cross-contamination. Remove saturated insulation, dry plates and joists to target EMC, and apply antimicrobial treatments. Document readings to validate drying endpoints.
How Waterproofing Protects Structure, Health, and Budget
While drying tackles the immediate emergency, waterproofing keeps the structure, occupants, and budget protected long-term by stopping moisture intrusion at its sources. You seal capillary pathways, isolate vapor drive, and create redundant barriers that prevent rot, corrosion, and settlement. Targeted assemblies—membranes, sealants, proper flashing, and vapor control—support mold prevention by keeping materials below critical moisture content. You preserve indoor air quality and protect vulnerable occupants. Tight, dry envelopes also boost energy efficiency by reducing latent loads and insulation degradation, lowering utility costs. Proactive waterproofing cuts repair cycles, shields finishes and equipment, and safeguards warranties—delivering reliable performance and stewardship-minded value.
Assessing Moisture Sources: Surface, Groundwater, and Plumbing
Start by mapping where water is coming from, then quantify how it moves. Trace roof, wall, and grading runoff; document flow paths to drains. Probe soil moisture and hydrostatic pressure at footings; watch for capillary rise along cold joints. Pressure-test plumbing lines, inspect fixtures, and check appliances for slow leaks. Use thermal imaging, pin/ball moisture meters, and calcium chloride tests to separate surface wetting from vapor drive. Verify vapor barriers’ integrity under slabs and behind finishes. Record dew point, indoor RH, and temperature differentials. Prioritize sources by volume, duration, and accessibility. Then specify targeted drainage, sealing, and repair tactics accordingly.
Timing Waterproofing Steps With Restoration Milestones
Although every loss is unique, you should lock waterproofing tasks to defined restoration checkpoints so materials cure correctly and hidden moisture doesn’t get trapped. Sequence tasks: after extraction, map moisture and isolate intrusion paths; after controlled demolition, install temporary barriers and plan seasonal scheduling; after drying verification, apply primers, membranes, and sealants within manufacturer humidity/temperature ranges; after rebuild rough-in, integrate drainage planes and flashing; at post restoration walk-through, verify slope, gutters, and penetrations. Document ambient conditions, substrate moisture, and cure times. Coordinate trades to avoid penetrations after membranes. Calibrate dehumidification to product specs. Schedule inspections before enclosure and before finishes.
Foundation Sealing and Crack Injection Strategies
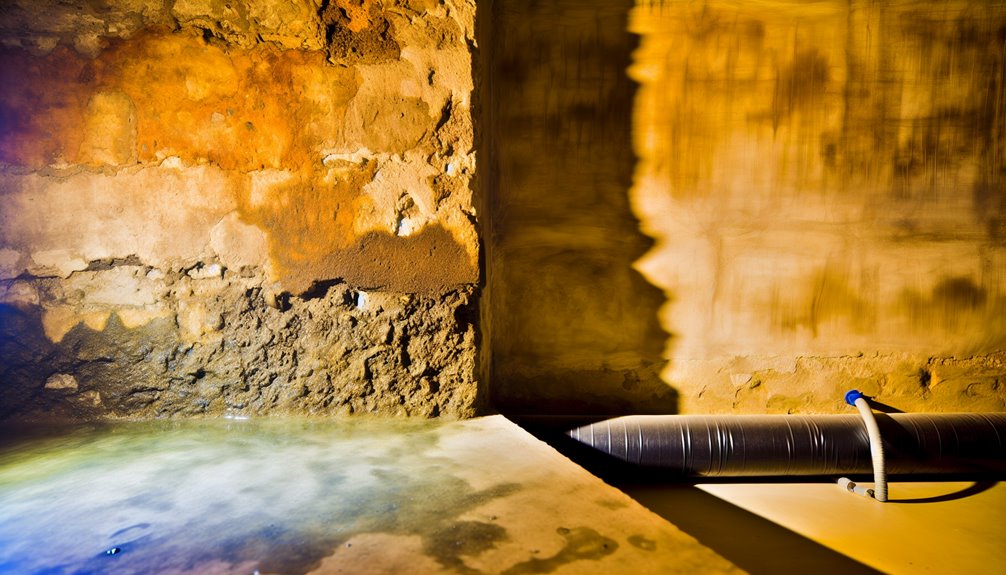
Target foundation leaks with a two-pronged approach: exterior sealing to block bulk water and crack injection to stop capillary pathways. You’ll clean, profile, and prime the wall, then apply a continuous elastomeric membrane, reinforce seams, and seal penetrations. Inside, diagnose crack type and movement. For structural, dry, non-moving cracks, use epoxy injections to restore monolithic strength. For active or damp cracks, inject hydrophobic polyurethane grouts that expand, chase moisture, and remain flexible. Install ports, flush, and inject low-pressure from bottom up until refusal. Finish by sealing surface ports, verifying cure, and documenting pressures and volumes so you can stand behind the repair.
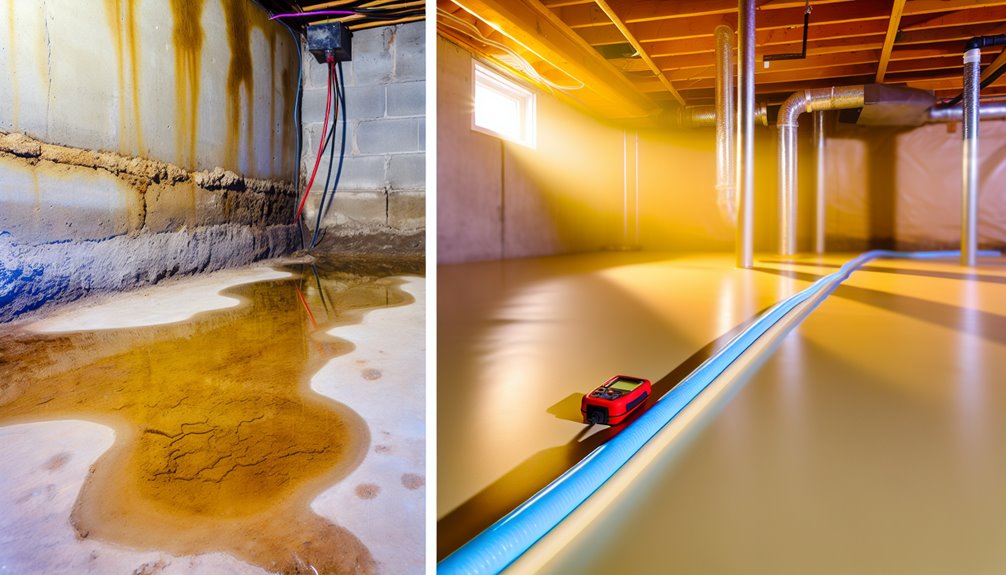
Drainage Solutions: French Drains, Sump Pumps, and Grading
When bulk water keeps reappearing, you control it with a managed path: regrade to shed surface runoff, intercept subsurface flow with a French drain, and evacuate collected water with a correctly sized sump system.
Begin outside: confirm positive slope away from the structure; target 5% over the first 10 feet with precise grading adjustments. Install French drains at footing depth with perforated SDR-35 pipe, filter fabric, and washed stone; daylight the outlet or route to a basin. Size sump pumps by inflow rate and head; include a check valve, airtight lid, and battery backup. Test discharge lines seasonally. Maintain cleanouts to protect capacity.
Membranes, Coatings, and Barrier Materials Compared
With bulk water routed by grading, drains, and a capable sump, you harden the envelope so moisture can’t penetrate or wick back in. Compare systems by substrate, exposure, and maintenance. Sheet membranes provide consistent thickness and crack-bridging; prioritize membrane adhesion to concrete via primers and clean, dry surfaces. Fluid-applied coatings conform to irregularities; verify mil-thickness and curing to achieve coating durability against hydrostatic pressure. Cementitious barriers integrate with masonry, accepting negative-side damp, but need admixtures for flex. Detail terminations, seams, and penetrations with compatible tapes, boots, and sealants. Test adhesion, patch holidays, and document thickness. Your diligence protects occupants and assets.
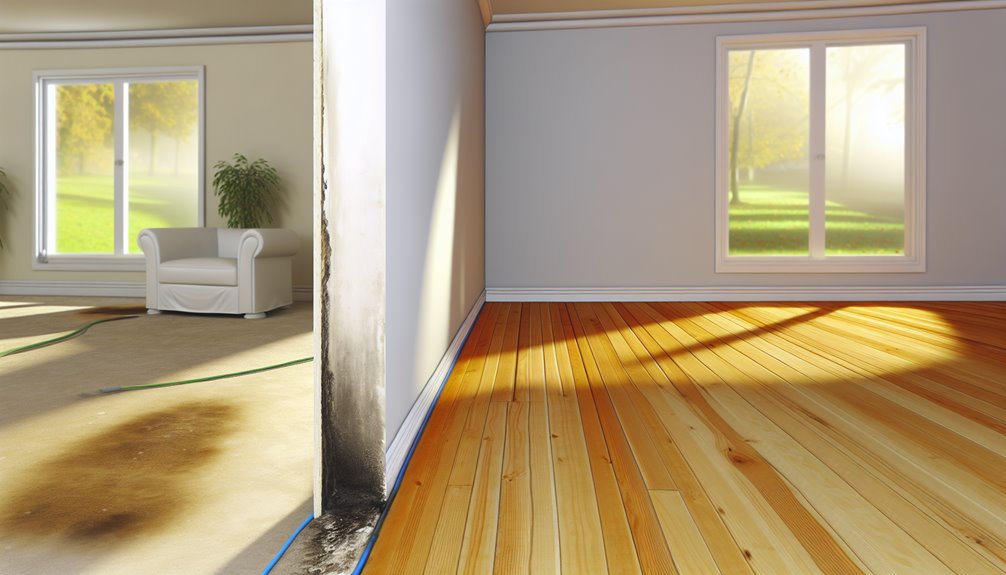
Interior vs. Exterior Waterproofing: Choosing the Right Approach
Although both aim to control moisture migration, you’ll choose interior or exterior waterproofing based on water source, access, structure type, and risk tolerance. Prioritize source control: roof runoff, grading, and exterior landscaping determine if hydrostatic pressure builds. If exterior access is feasible, install footing drains, dampproofing, or waterproofing with protection boards to intercept water before it reaches the wall. When excavation’s impractical, use interior membranes, negative-side coatings, sealed penetrations, and perimeter drains tied to a sump with check valve and battery backup. Assess wall composition, slab joints, and utility penetrations. Combine approaches when necessary, sequencing drainage, barriers, and dehumidification to protect occupants.
Professional Planning, Permits, and Maintenance for Long-Term Results

Selecting interior or exterior methods is only the start; you now need a coordinated plan that meets code, protects structure, and stays serviceable for decades. Engage a licensed waterproofing designer to map drainage paths, vapor barriers, and redundancy. Verify soil data, hydrostatic loads, and material compatibility. Align permit timelines with drying, excavation, and curing windows to prevent rework. Document scopes for inspectors and neighbors. Specify test points, sump capacity, and backflow protection. Establish maintenance schedules: clean drains quarterly, test pumps monthly, inspect sealants annually, and recalibrate dehumidifiers seasonally. Keep as-builts, warranties, and photos. Train occupants on alarms, shutoffs, and reporting.
Conclusion
At Hydra Clean, we truly understand the importance of effective waterproofing after water damage and restoration. It’s not just about cleaning up; it’s about creating a safe and lasting environment for you and your loved ones. I invite you to reach out to us at myhydraclean.com or give us a call at (601) 336-2411. Let’s talk about how we can help protect your home and give you peace of mind. We’re here for you every step of the way!