
When floors start looking “well-traveled,” the problem usually isn’t dirt — it’s embedded soils, mineral buildup, and biofilm locked into porous grout that household cleaning can’t reach. You can’t scrub your way out of chemistry, the wrong pH, or insufficient dwell time. Professional tile and grout restoration uses calibrated agitation, controlled heat or steam, and rinse-extraction to lift contaminants without etching tile or softening grout. Then the joints get reprofiled and a penetrating sealer applied after the surface is fully dry. Here’s what a real restoration looks like and when your floors need it.
Signs Your Tile and Grout Need Professional Attention
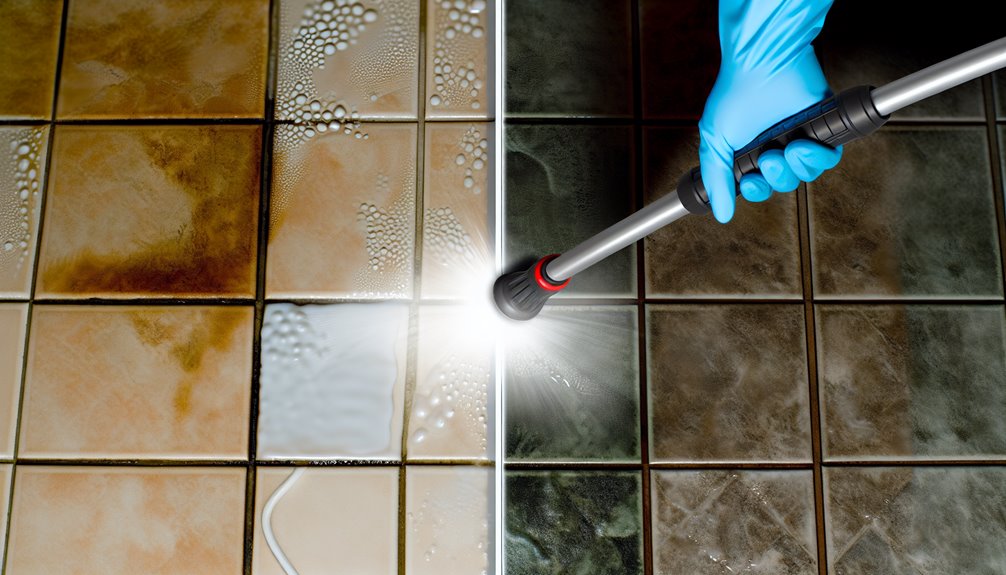
Routine cleaning handles light soil, but a few warning signs mean your floors have moved past what mops and household cleaners can fix. Watch for persistent discoloration that returns within days of cleaning, darkened or hollow-sounding grout lines (which often signal moisture trapped under the surface), white mineral “bloom” that keeps reappearing, etching or pitting on glazed or natural stone tiles, cracked or missing grout that lets water wick into the substrate, and mildew odors that ventilation can’t resolve.
Another tell: sealed surfaces that no longer bead water. That means the seal has failed, and moisture is now soaking into the grout matrix. If you’re seeing several of these, the floor needs full restoration — deep extraction, pH-neutralization, regrouting where joints have failed, and a fresh penetrating sealer to protect what’s underneath.
Why Professional Cleaning Beats DIY Methods
The warning signs above don’t respond to DIY methods because the problems are at the chemistry and substrate level, not the surface. Scrubbing with a household cleaner won’t neutralize biofilm trapped in grout pores, dissolve mineral deposits, or restore the porosity grout needs to accept a new sealer. Pros diagnose the tile type, grout composition, and the actual contamination load, then choose pH-specific cleaners, dwell times, and agitation techniques matched to that combination.
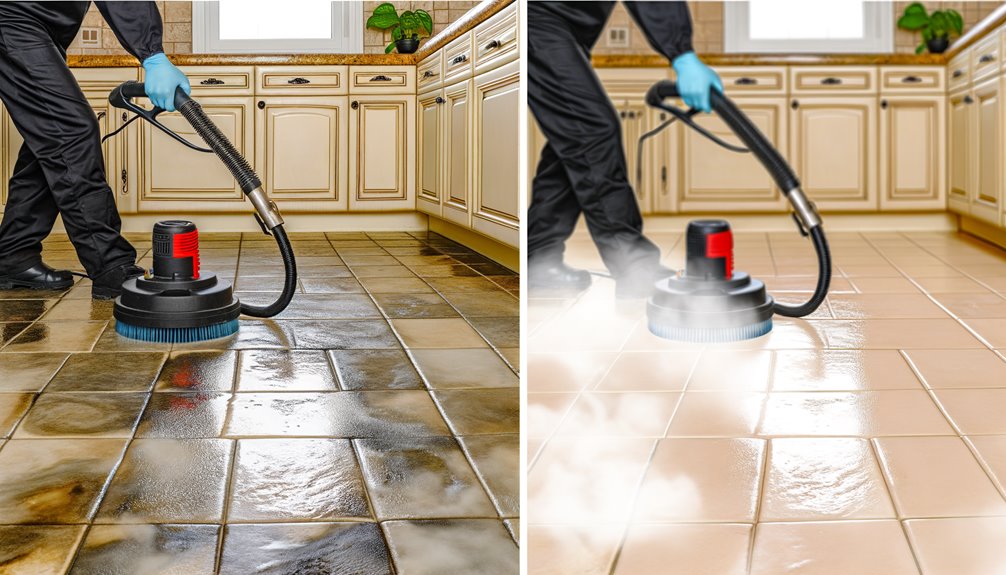
The result is durable rather than cosmetic. Controlled steam dislodges impacted soils without etching glaze or softening grout additives. Precision rinse extraction protects the joints from voiding. Color restoration corrects uneven dye loss across tiles. The end product is a floor that looks restored and stays that way — not just one that looks better for a week. Regular tile cleaning prevents costly repairs covers the maintenance side that keeps restorations holding up.
The Equipment Pros Use for Deep Cleaning

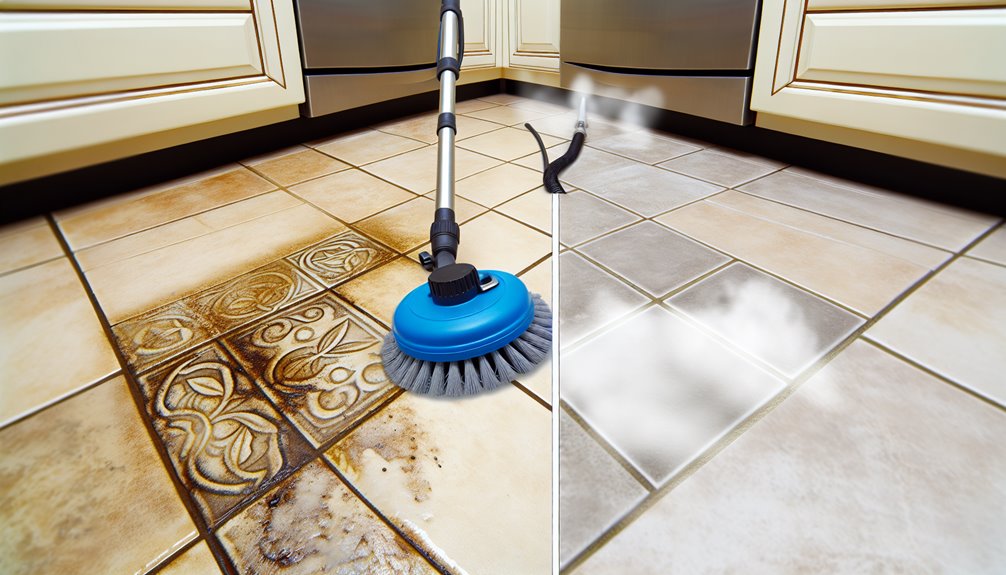
Real tile restoration starts with equipment most homeowners never see. High-PSI oscillating scrubbers with weighted decks deliver uniform pressure across the floor; rotary machines with diamond pads create a controlled abrasive slurry that lifts heavy buildup. Variable-heat steam systems break up biofilm without softening tile glazes. Industrial extraction heads pull the slurry out at the point of contact, so contamination doesn’t redeposit elsewhere on the floor.
Precision grout brushes ride along the joint profile, agitating embedded soil before extraction wands capture it. HEPA wet vacuums finalize the moisture removal, leaving the grout pores open and ready for sealing. The whole system is calibrated for substrate tolerance — RPM, PSI, and water temperature all adjusted based on what the tile and grout can handle. That calibration is the difference between cleaning a floor and damaging it.
Safe, Effective Cleaning Solutions for Different Tile Types
Equipment matters, but chemistry decides whether the cleaning works without damaging the tile. The right cleaner depends on the substrate. Polished marble, limestone, and travertine need pH-neutral cleaners with stone-safe solvents for oils — acids etch stone permanently. Ceramic and porcelain tolerate alkaline emulsifiers with sequestrants to release polymerized soils, followed by a thorough rinse to neutral pH.
Textured porcelain needs surfactant-rich boosters to penetrate the micro-texture. Quarry tile and unglazed terra cotta should never see acid — buffered alkalines with controlled dwell time are the right call. Glass and metal inlays need non-abrasive, film-free detergents that leave no residue. The pros match the chemistry to the substrate every time, which is why the same cleaner doesn’t work across every floor.
Step-by-Step Process of Professional Grout Restoration
With chemistry and equipment matched to your tile, the actual restoration follows a controlled sequence. Start with dry soil removal, then profile the grout joints with rotary brushes to assess the integrity of the binder. Rinse-extract with calibrated pressure to avoid voiding the joints. Address micro-cracks, pack any necessary repairs, and verify the new color matches the existing grout for a uniform finish.
- Inspect the floor, tape edges to protect surrounding surfaces, and map zones with different soil loads or grout porosity.
- Agitate, hot-water extract, neutralize the pH, and force-dry the surface to its equilibrium moisture content.
- Apply a penetrating sealer, burnish the surface, and document the gloss and color uniformity.
The end result is a consistent, predictable outcome that protects the substrate and meets the actual needs of the space.
Stain Removal Techniques for Tough Spots and Discoloration
Discoloration takes different approaches depending on what caused it. Identify the stain class first — organic, oil-based, rust, or mineral — before choosing a treatment. Organic stains respond to enzymatic cleaners with sufficient dwell time to digest the residue without etching glaze. Oil stains need alkaline degreasers, heat, and agitation followed by a neutralizing rinse.
Rust and mineral transfer require chelating agents matched to the substrate — some acids that handle rust on porcelain will damage natural stone. For deep-set stains, a poultice does the work: blend an absorbent medium (like clay) with the appropriate solvent or oxidizer, apply to the stain, cover, and let it draw the contamination out by capillary action. Spot-test every chemistry on a hidden area first, monitor pH balance during the work, and finish with thorough extraction so nothing wicks back as the floor dries.
The Role of Grout Sealing and Why It Matters

Sealing locks in the gains from the cleaning. Unsealed grout acts like a network of tiny capillaries that wick liquids, oils, and dyes deep into the matrix — which is why an unsealed floor looks dirty again within months. A penetrating, vapor-permeable sealer applied to full saturation (with excess buffed off) stabilizes the grout, protects the bonding, and creates a moisture barrier that resists rapid re-soiling.
The sealing process has a few non-negotiables. Verify the cure time first — new grout needs 72 hours, and the sealer has its own manufacturer-specified cure window. After application, run a water-drop test to confirm the sealer is repelling moisture; reapply if the water still soaks in. Schedule maintenance re-seals every 12-24 months depending on traffic and the cleaning chemistries used routinely.
Benefits for Health, Hygiene, and Indoor Air Quality
Properly restored tile assemblies do more than look clean — they reduce the bioload in your space. Extracting embedded soils, biofilm, and trapped moisture interrupts microbial growth cycles. Reinstating hydrophobic sealants blocks the capillary action that wicks contaminants into grout in the first place. The result is improved indoor air quality through reduced aerosolized particulates and lower spore release.
For mold prevention specifically, the protocol is alkaline pre-treatment, calibrated dwell time, controlled rinse, and rapid drying — the moisture cycle that drives mold growth never gets a chance to start. HEPA capture during the work, plus a neutral pH post-rinse, support allergy reduction by removing dander and irritants. How tile and grout cleaning improves indoor air quality covers the full health benefit picture in detail.
How Often to Schedule Professional Tile and Grout Cleaning

Most floors do well on a 6-12 month professional cleaning cycle, with the exact interval depending on traffic, soil profile, and finish system. Use seasonal scheduling for peak-use periods, and adjust frequency based on measurable indicators like gloss readings, slip coefficient, and grout porosity.
- Residential: low-traffic homes can stretch to 12 months; homes with kids and pets do better at 6-9 months.
- Commercial: lobbies and restrooms need cleaning every 3-6 months; back-of-house can usually wait for quarterly service.
- Healthcare and food service: 1-3 months with documented quality assurance — the contamination loads in these spaces are too high for longer intervals.
Adjust frequency after each restorative clean based on sealer wear and post-construction particulate loads.
Maintenance Tips to Keep Floors Looking New Longer
Between professional cleanings, a simple maintenance loop controls soil load before it bonds to tile or penetrates the grout. Daily dry sweeping with microfiber dust mops handles the abrasive grit; weekly wet mopping with a neutral pH cleaner handles the rest. Avoid surfactants that leave residue — that residue attracts dirt back faster.
Routine inspections catch sealer failure, grout abrasion, and impact damage early when they’re still cheap to fix. Spot-treat stains immediately with manufacturer-approved alkaline or enzymatic agents. Install walk-off mats at every entrance, set footwear guidelines for soft-soled non-marking shoes, and put protective caps on furniture legs. Maintain proper dilution ratios in your cleaning solutions, change buckets often, and use color-coded tools to prevent cross-contamination between zones. Reapply penetrating sealer per the traffic class and environmental load.
Conclusion
Tile and grout that’s past the point of household cleaning isn’t lost — it’s a candidate for restoration. The combination of right equipment, right chemistry, right technique, and proper sealing brings floors back to nearly-new condition and keeps them that way for years.
If your floors are showing the signs above, restoration is the right next step. Visit our tile and grout cleaning service page to see what we offer, or call (601) 336-2411 for a free quote.