

When addressing water damage restoration, it’s crucial to begin by thoroughly assessing the damage, both visible and hidden. This involves using tools such as moisture meters and documenting everything for insurance purposes. Ensuring safety is paramount; turn off the power and wear protective gear before handling any water removal processes. But how can you manage these steps effectively without missing important details? And what’s the best way to prevent mold growth after the initial cleanup? If you’re ready to navigate these challenges, there’s more you need to know to confidently restore your space.
Assessing the Damage
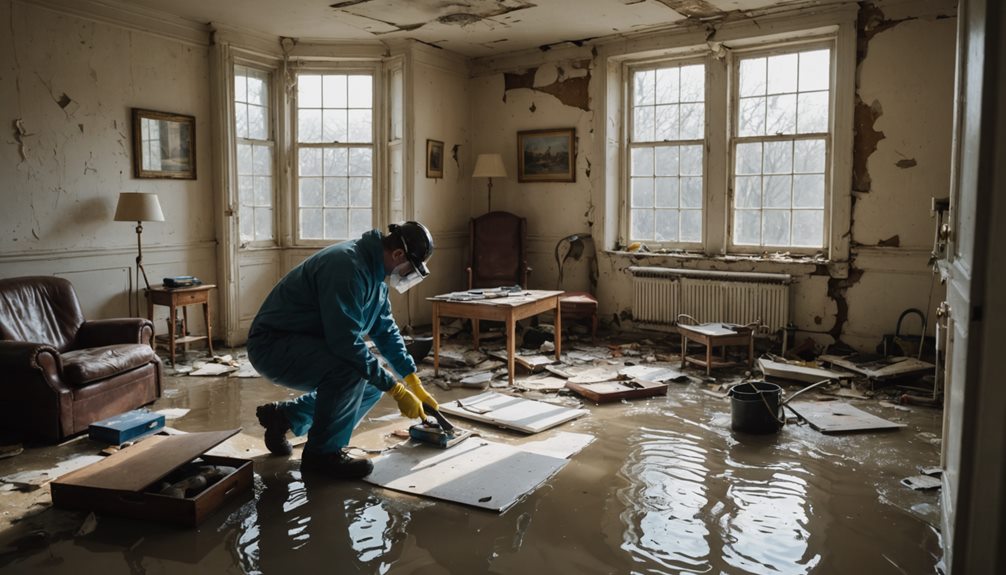
Prior to diving into the restoration process, it’s essential to accurately assess the damage for a safe and effective recovery.
Start by conducting a thorough inspection of the affected area. Document everything meticulously, taking clear photos and detailed notes. This information will support any future insurance claims and assist in obtaining an accurate damage valuation.
Pay attention to visible damages like water stains, warped floors, and compromised walls.
Don’t overlook hidden issues such as mold growth or structural instability that may not be immediately apparent. Use moisture meters to measure the extent of water penetration in walls and floors. This ensures that you don’t miss any concealed water pockets that could lead to further deterioration if left unchecked.
After gathering all necessary data, proceed with evaluating the scope of restoration needed.
Categorize the damage as minor, moderate or severe for streamlining processes. This classification aids in communicating effectively with insurance adjusters and restoration professionals ensuring all parties understand severity of the situation.
At this stage, your goal is to build a comprehensive picture of the damage, enabling you to move forward confidently with both recovery efforts and interactions with insurers.
Your careful assessment lays the foundation for a successful restoration.
Ensure Safety First
How can you ensure safety is your top priority during water damage restoration? Start by focusing on personal safety and identifying potential electrical hazards, which are essential to protect yourself and others.
Begin with a thorough safety checklist:
- Evaluate Electrical Hazards: Before entering any water-damaged area, ensure power is turned off at the main breaker. Water can conduct electricity, posing a severe risk. Use a flashlight instead of electrical lighting.
- Wear Protective Gear: Equip yourself with rubber boots, gloves, and a face mask. These items protect you from contaminated water and sharp debris, enhancing personal safety.
- Verify Structural Stability: Inspect premises for signs of structural damage such as sagging ceilings or weakened floors. Avoid areas that seem unstable to prevent accidents.
- Ventilate the Area: Open windows and doors to circulate fresh air. Proper ventilation helps reduce mold growth and provides a safer working environment.
Stop the Water Source

Identifying and stopping the water source is crucial in preventing further damage. Begin by determining whether the water intrusion is from a clean or contaminated source such as a burst pipe or an overflowing toilet. Swift action is necessary.
Assess the situation and take immediate action to shut off the main water supply. Locate the main water valve, typically found in the basement or near the water meter, and turn it clockwise until it’s firmly closed.
Next, inspect your plumbing fixtures. Check for leaks under sinks, around toilets, and near appliances like dishwashers and washing machines. If the water source is external like rain seepage, seal doors and windows using towels or sandbags as a temporary barrier.
Remove Standing Water
Once you’ve stopped the water source, it’s crucial to promptly remove standing water to prevent further damage and mold growth.
Standing water poses significant risks including structural damage and health hazards. Using effective water extraction techniques is critical in this process. Here’s how you can remove standing water safely and efficiently:
- Assess the Situation: Determine extent of the water damage and identify any potential hazards such as electrical risks. Wear protective gear to ensure your safety.
- Select Appropriate Equipment: Use a wet/dry vacuum for small areas or a submersible pump for larger volumes of water. Ensure equipment is designed for water extraction to maximize efficiency.
- Begin Water Extraction: Start from lowest point working your way up allowing gravity to assist in removing as much water as possible. Be thorough to minimize risks associated with standing water.
- Dispose of Water Properly: Direct extracted water to a safe location away from structures and susceptible areas preventing recontamination or further damage.
Dry Out & Dehumidify
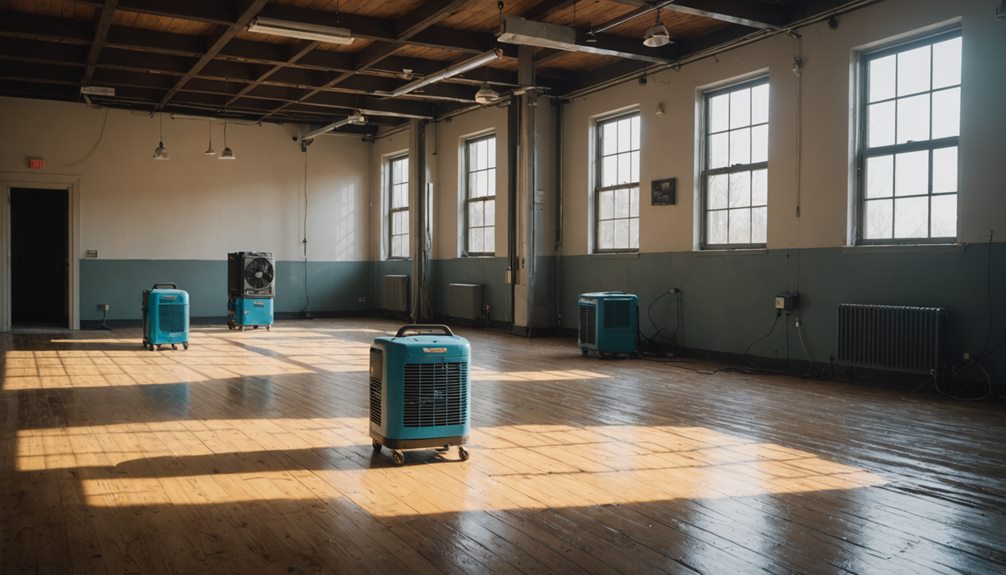
Efficient drying and dehumidification are essential steps in water damage restoration to prevent mold growth and further structural deterioration.
Begin by evaluating the extent of moisture saturation using moisture meters. This will aid in selecting the most suitable drying techniques and dehumidifier types for the task.
Prioritize safety by ensuring area is well-ventilated and free from electrical hazards before starting the drying process.
Select dehumidifiers based on size of area and humidity level. Desiccant dehumidifiers work well in cooler conditions while refrigerant dehumidifiers are efficient in warmer environments.
Position dehumidifiers strategically to maximize airflow enhancing moisture removal. Concurrently, employ air movers to increase evaporation rates from surfaces facilitating a quicker drying process.
Monitor drying progress regularly adjusting equipment placement as necessary to ensure thorough moisture extraction.
Patience is key here—rushing could leave hidden dampness risking future complications.
You’re not just restoring a building; you’re safeguarding health and well-being of those using space.
Clean & Disinfect
After effectively drying out area, cleaning and disinfecting become essential to eliminate contaminants preventing mold growth.
You’ll want to approach this task with precision using right cleaning techniques ensuring safety and thoroughness.
Here’s a step-by-step process guide:
- Evaluate Contaminants: Begin by identifying type and extent of contaminants. This helps select appropriate cleaning agents and methods.
- Select Appropriate Cleaning Agents: Use EPA-approved disinfectants specifically designed for mold prevention. These ensure all pathogens and spores are eradicated.
- Apply Cleaning Techniques: Use a combination of scrubbing and wiping to thoroughly clean surfaces. Pay attention to corners and dark areas where mold is likely to develop.
- Ensure Ventilation: Keep area well-ventilated during cleaning process preventing accumulation of fumes from cleaning agents aiding in drying.
Your goal is to leave space not only clean but also safe for habitation.
By focusing on these detailed steps, you’ll help restore environment effectively demonstrating care and responsibility towards those affected by water damage.
Salvage & Dispose
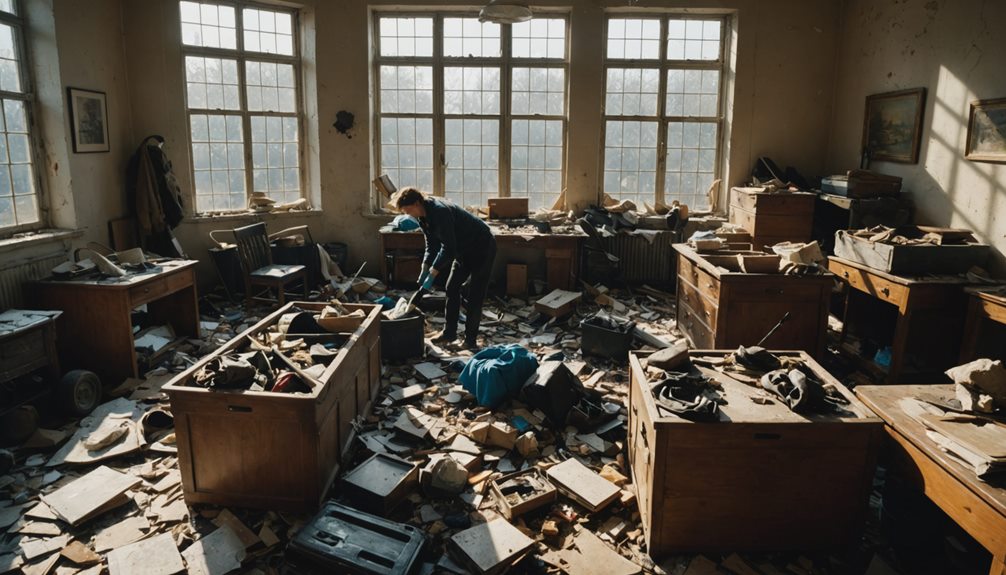
Tackling challenge of salvaging items after water damage requires keen eye for detail focusing on safety.
Begin by evaluating condition of each item prioritizing those with sentimental or high monetary value ensuring they’re not contaminated beyond safe recovery. Utilize personal protective equipment safeguarding yourself from harmful substances that may be present.
In water salvage process, categorize items into salvageable and unsalvageable. Use moisture meters to gauge extent of saturation considering factors like material type and exposure duration. For instance, wooden furniture might be saved with proper drying while porous materials like rugs may harbor mold needing discarding.
Once you’ve sorted items move onto material disposal stage. It’s essential to dispose unsalvageable items according to local waste management regulations preventing environmental harm.
Implement safe disposal practices such as sealing contaminated materials in heavy-duty bags containing potential biohazards.
Repair & Restore
With disposal of unsalvageable items complete, attention turns to meticulous process of repairing and restoring affected area. Here’s where your technical skills come into play ensuring space is safe and sound once again.
First, focus on mold prevention; it’s critical to inhibit any mold growth that could compromise health and undermine restoration efforts. You’ll need to thoroughly dry out area using high-powered fans and dehumidifiers.
Next, document damage for insurance claims. Take detailed photos keeping records of all repairs and replacements. This documentation serves as valuable evidence for your claim helping streamline process.
The restoration process involves several key steps:
- Inspect Structural Elements: Check for weakened or damaged beams and supports replacing them as necessary.
- Repair Drywall & Flooring: Replace any sections that have absorbed water beyond repair.
- Restore Electrical Systems: Ensure all wiring and outlets are safe and operational.
- Repaint & Finish Surfaces: Apply mold-resistant paint finishes preventing future issues.
Avoid Future Damage
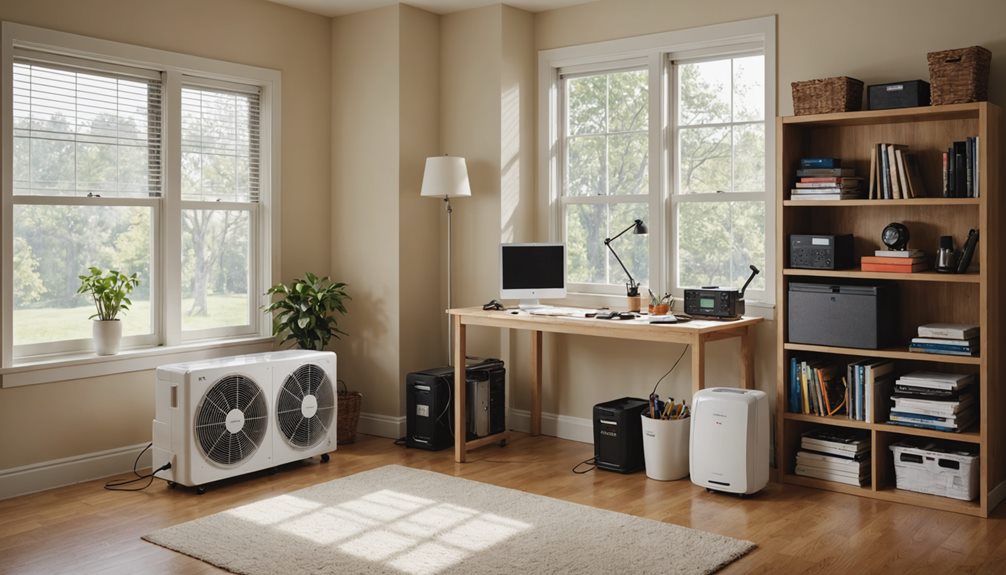
Once you’ve completed restoration, it’s crucial to implement measures preventing future water damage. Start by evaluating vulnerable areas in your home. Basements, roofs, and bathrooms are common trouble spots. Implement waterproofing solutions fortifying these areas.
For basements, consider applying a waterproof sealant on walls and floors keeping moisture out. Examine your roof for any cracks or missing shingles promptly repairing them to avoid leaks.
Installing moisture barriers is another vital step. In crawl spaces and basements, a vapor barrier can prevent ground moisture from seeping in. Be sure to use high-quality materials designed for longevity and durability.
In bathrooms, verify caulking around tubs and showers is intact replacing it if necessary blocking water ingress.
Regular maintenance is key to prevention. Schedule routine inspections of plumbing systems roofs gutters. Clear gutters downspouts regularly ensuring water is directed away from your home’s foundation.
Additionally, consider installing a sump pump in areas prone to flooding quickly removing excess water.
Conclusion
You’ve navigated stormy seas of water damage restoration with precision care. By evaluating damage like a detective ensuring safety like a guardian halting water like a dam you’ve laid solid foundation. Extracting water breathing life back into your space through drying dehumidification turns chaos into calm cleaning salvaging items restore normalcy while repairs mold prevention fortify your home against future floods documenting every step ensures you’re always ready for unexpected.
If you’re looking delve deeper into process or need professional assistance I invite you visit Hydra Clean of Hattiesburg MS at myhydraclean.com we’re here help can always reach out us at (601) 336-2411 we’d love hear from you assist making your home safe sound.